Role-Based Access Control
Almost every interaction with an OpenShift environment that you can think of requires going through the OpenShift’s control plane API. All API interactions are both authenticated (AuthN - who are you?) and authorized (AuthZ - are you allowed to do what you are asking?).
In the log aggregation lab we saw that there was an error in reference to a Service Account.
As OpenShift is a declarative platform, some actions will be performed by the platform and not by the end user (when he or she issues a command). These actions are performed using a Service Account which is a special type of user that the platform will use internally.
OpenShift automatically creates a few special service accounts in every project. The default service account is the one taking the responsibility of running the pods, and OpenShift uses and injects this service account into every pod that is launched. By changing the permissions for that service account, we can do interesting things.
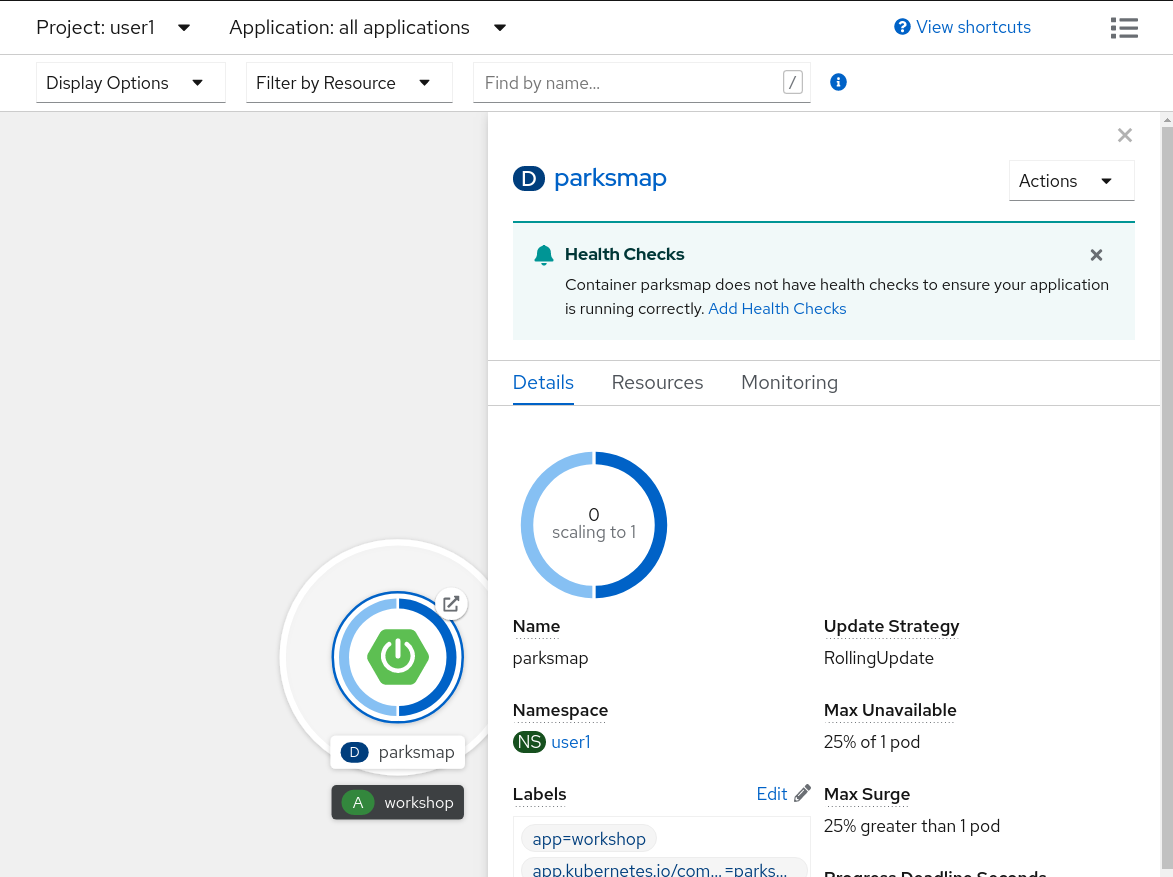
You can view current permissions in the web console, go to the Topology view in the Developer Perspective, click the parksmap entry, go to the Details tab, and then click the Namespace.
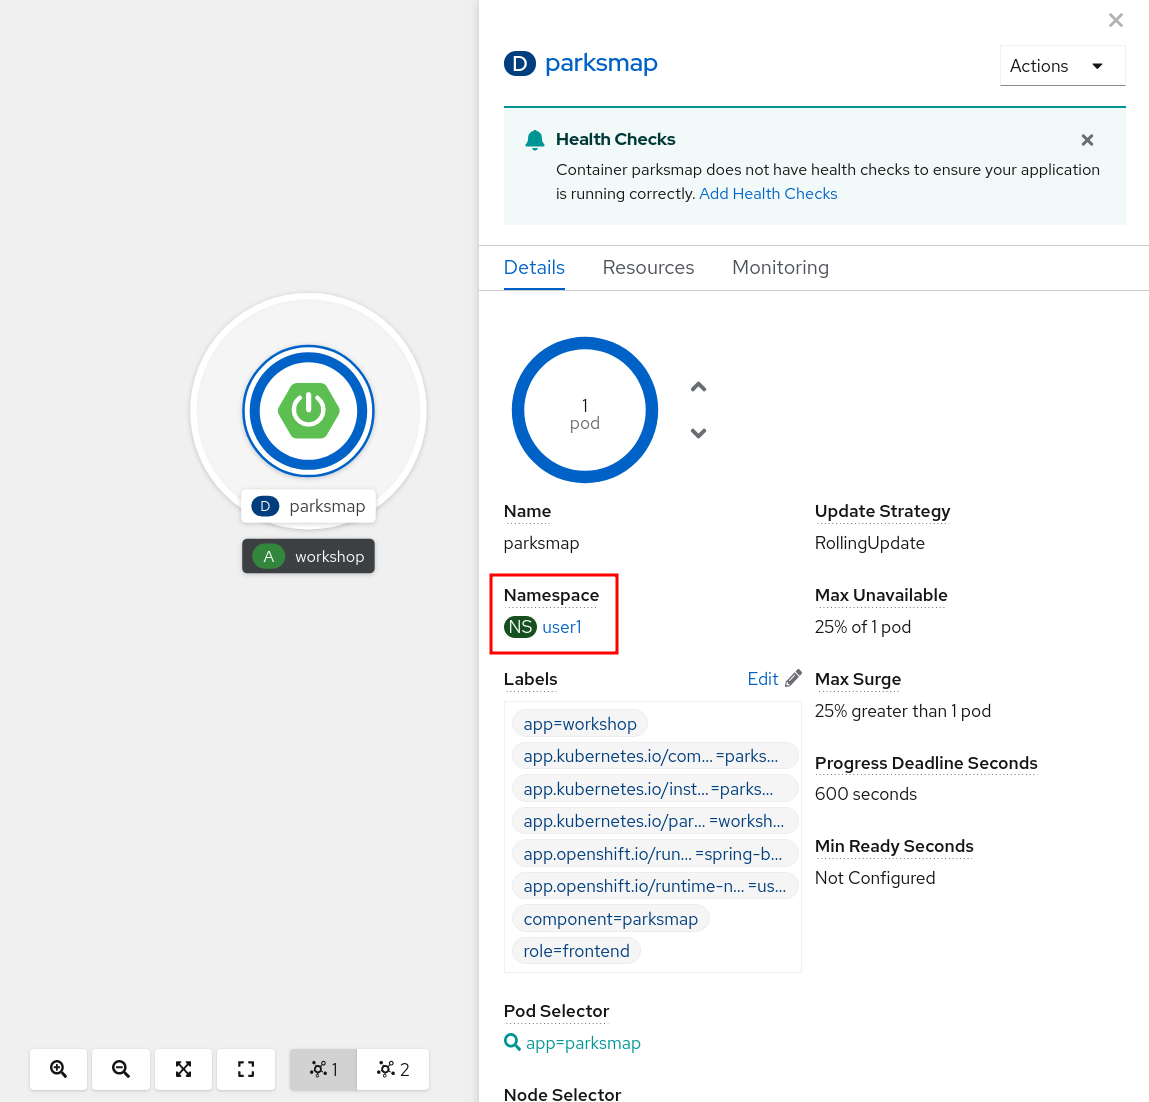
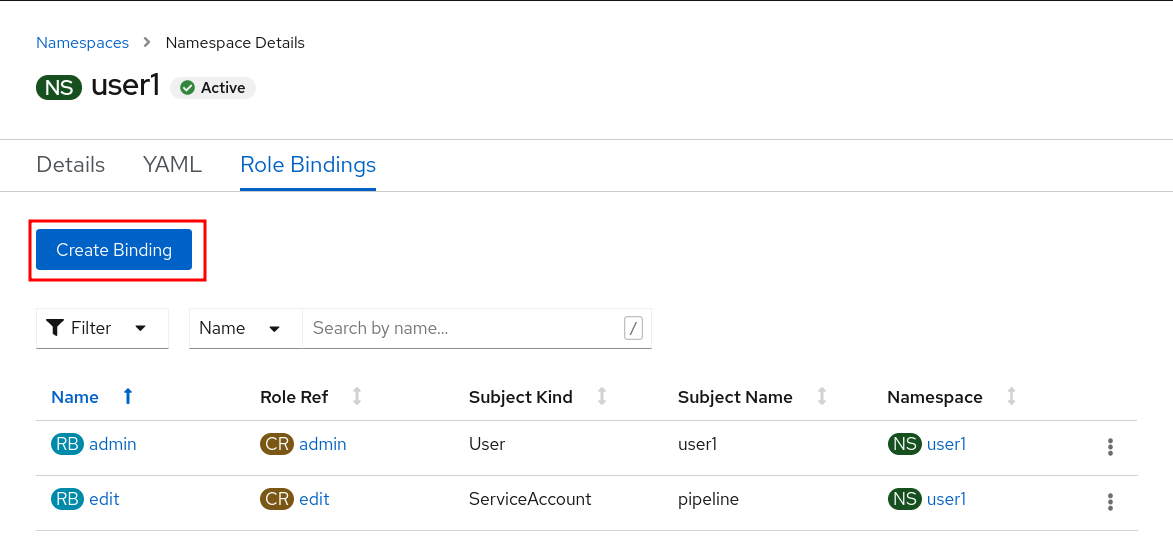
Then, click Role Bindings.

Exercise: Grant Service Account View Permissions
The parksmap application wants to talk to the OpenShift API to learn about other Pods, Services, and resources within the Project. You’ll soon learn why!
oc project user3Then:
oc policy add-role-to-user view -z defaultThe oc policy command above is giving a defined role (view) to a user. But
we are using a special flag, -z. What does this flag do? From the -h output:
-z, --serviceaccount=[]: service account in the current namespace to use as a userThe -z syntax is a special one that saves us from having to type out the
entire string, which, in this case, is
system:serviceaccount:user3:default. It’s a nifty shortcut.
|
Note
|
The |
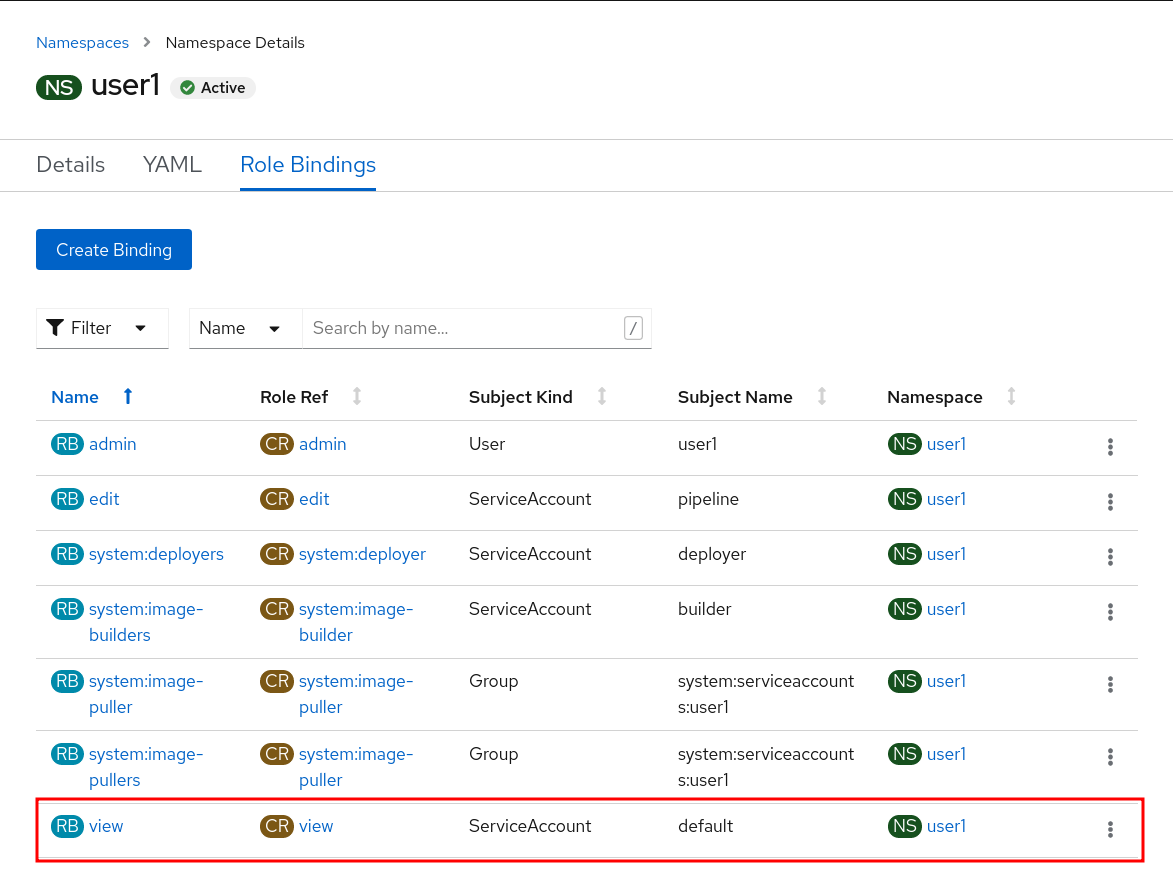
Now that the default Service Account now has view access, so now it can query the API to see what resources are within the Project. This also has the added benefit of suppressing the error message! Although, in reality, we fixed the application.
Another way you could have done the same is by using the OpenShift console. Once you’re on the Workloads → Deployments page, click on the Namespace, then Role Bindings and then the Create Binding button.
Select view for the Role Binding Name user3 for the Namespace, view for the Role Name, Service Account for the Subject, user3 for the Subject Namespace, and default for the Subject Name.
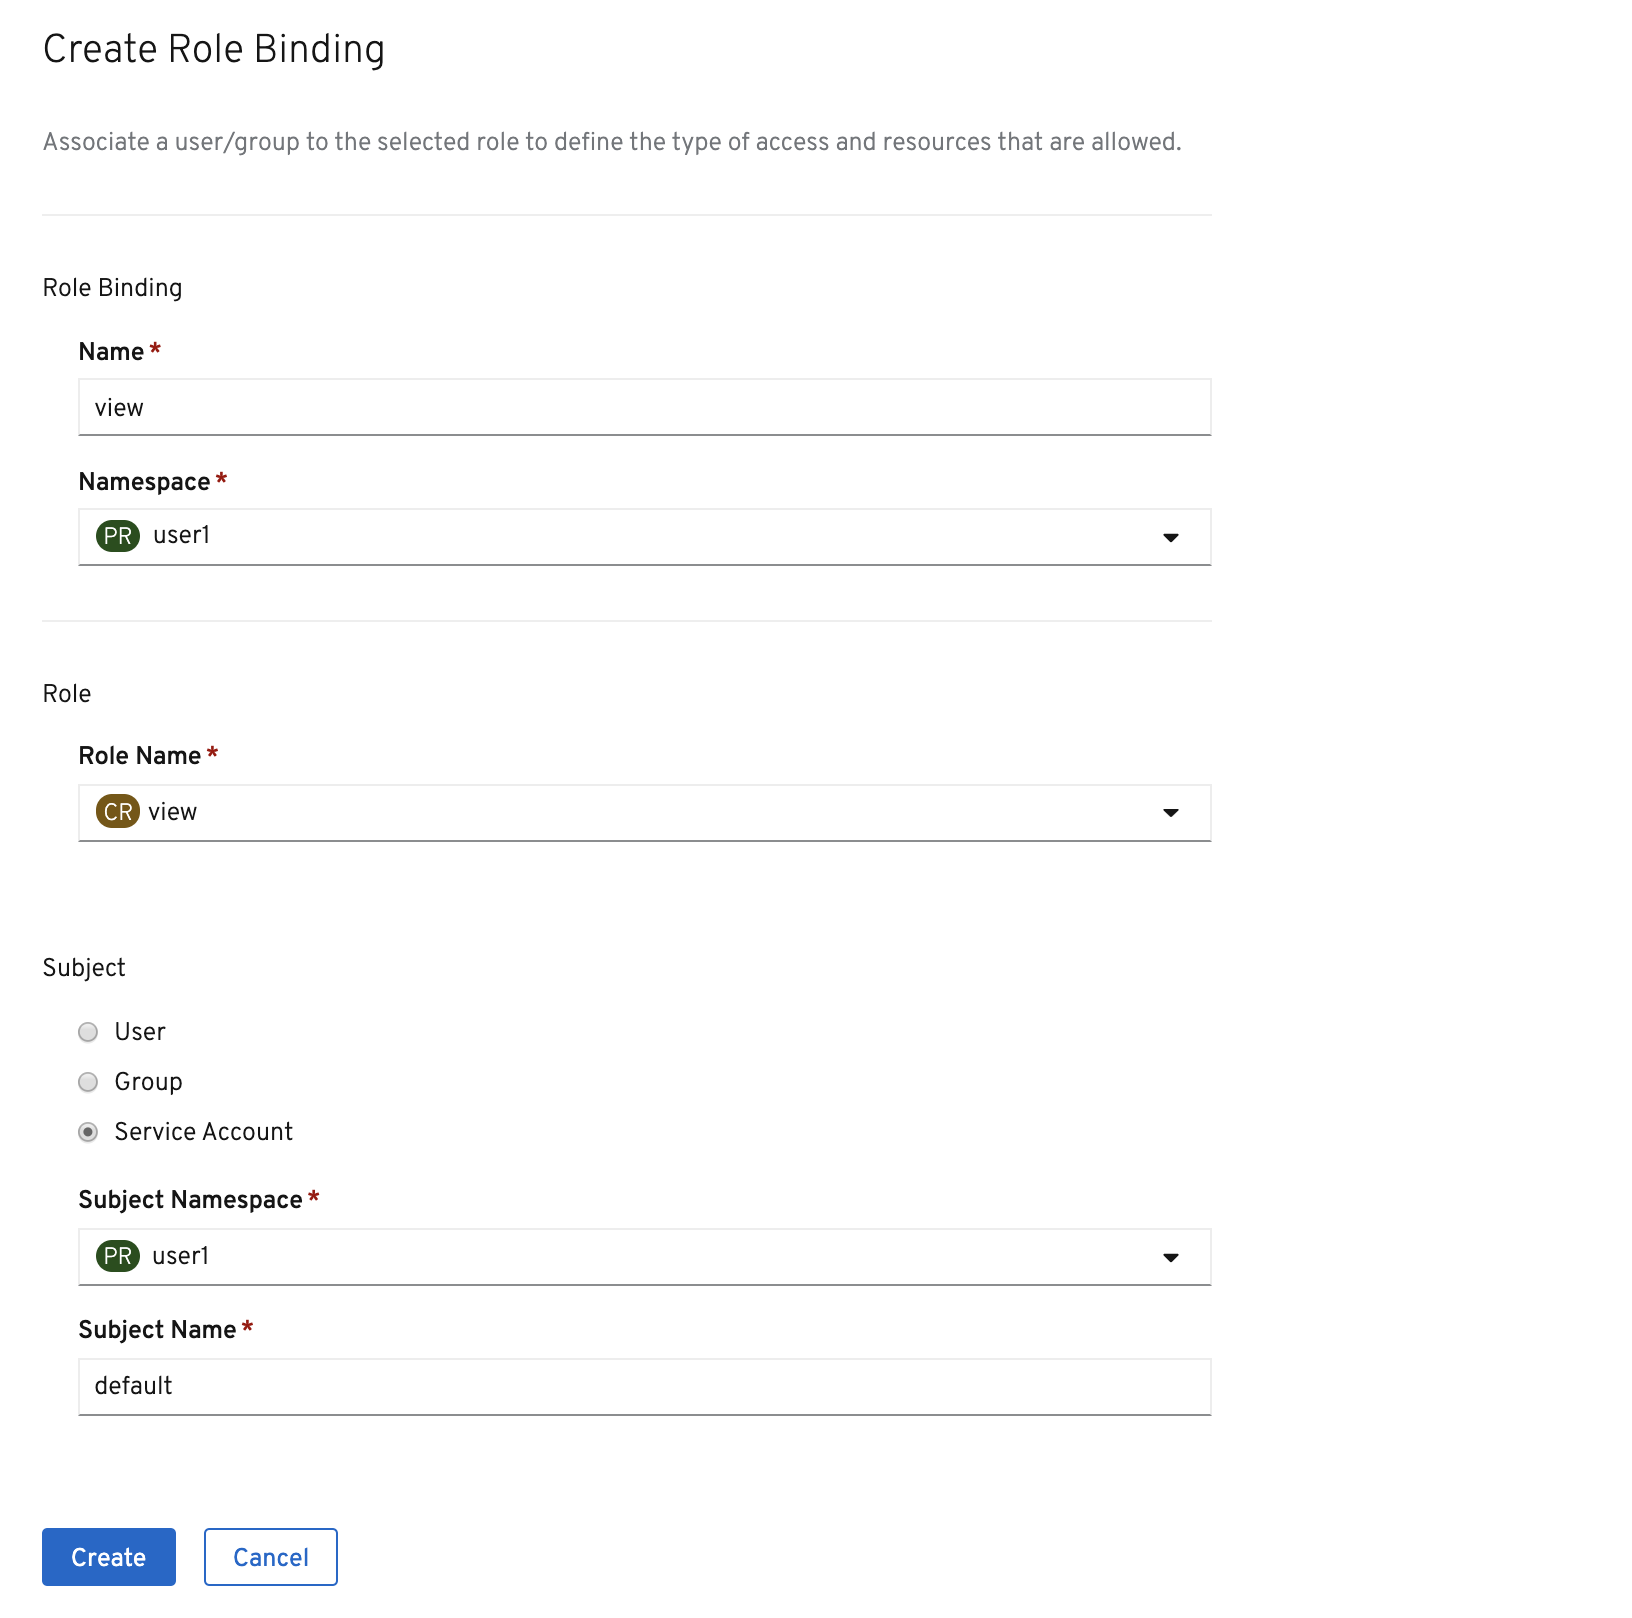
Once you’re finished editing permissions, click on the Create button.
Exercise: Redeploy Application
One more step is required. We need to re-deploy the parksmap application because it’s
given up trying to query the API.
oc rollout restart deployment/parksmapA new deployment is immediately started. Return to Topology view and click the parksmap entry again to watch it happen. You might not be fast enough! But it will be reflected in the ReplicaSet number.
If you look at the logs for the application now, you should see no errors. That’s great.
(Optional) Exercise: Grant User View Permissions
If you create a project, you are that project’s administrator. This means that you can grant access to other users, too. If you like, give your neighbor view access to your project using the following command:
|
Caution
|
In the following command(s), replace user3 with the user name of the person to whom you want to grant access.
|
oc policy add-role-to-user view user3Have them go to the project view by clicking the Projects button and verify that they can see your project and its resources. This type of arrangement (view but not edit) might be ideal for a developer getting visibility into a production application’s project.